I’m gearing up to play Mrs. Claus this holiday.
It’s my ninth season. In a city known only for Santa Claus. You’ve probably never heard of a Mrs. Claus in Manhattan, aptly named, MANhattan.
It’s really hard to get these gigs.
The elves are big time, people with their own acts on cruise ships and nightclubs. Some work on Broadway. So instead of buying more stuff, more costumes and junky wigs, I opted for a makeup makeover to be on the same professional level as the elves.
I self-intervened.
No more red lipstick on my teeth.
No more Duane Readed (Walgreens) eyelashes flying all about my visage.
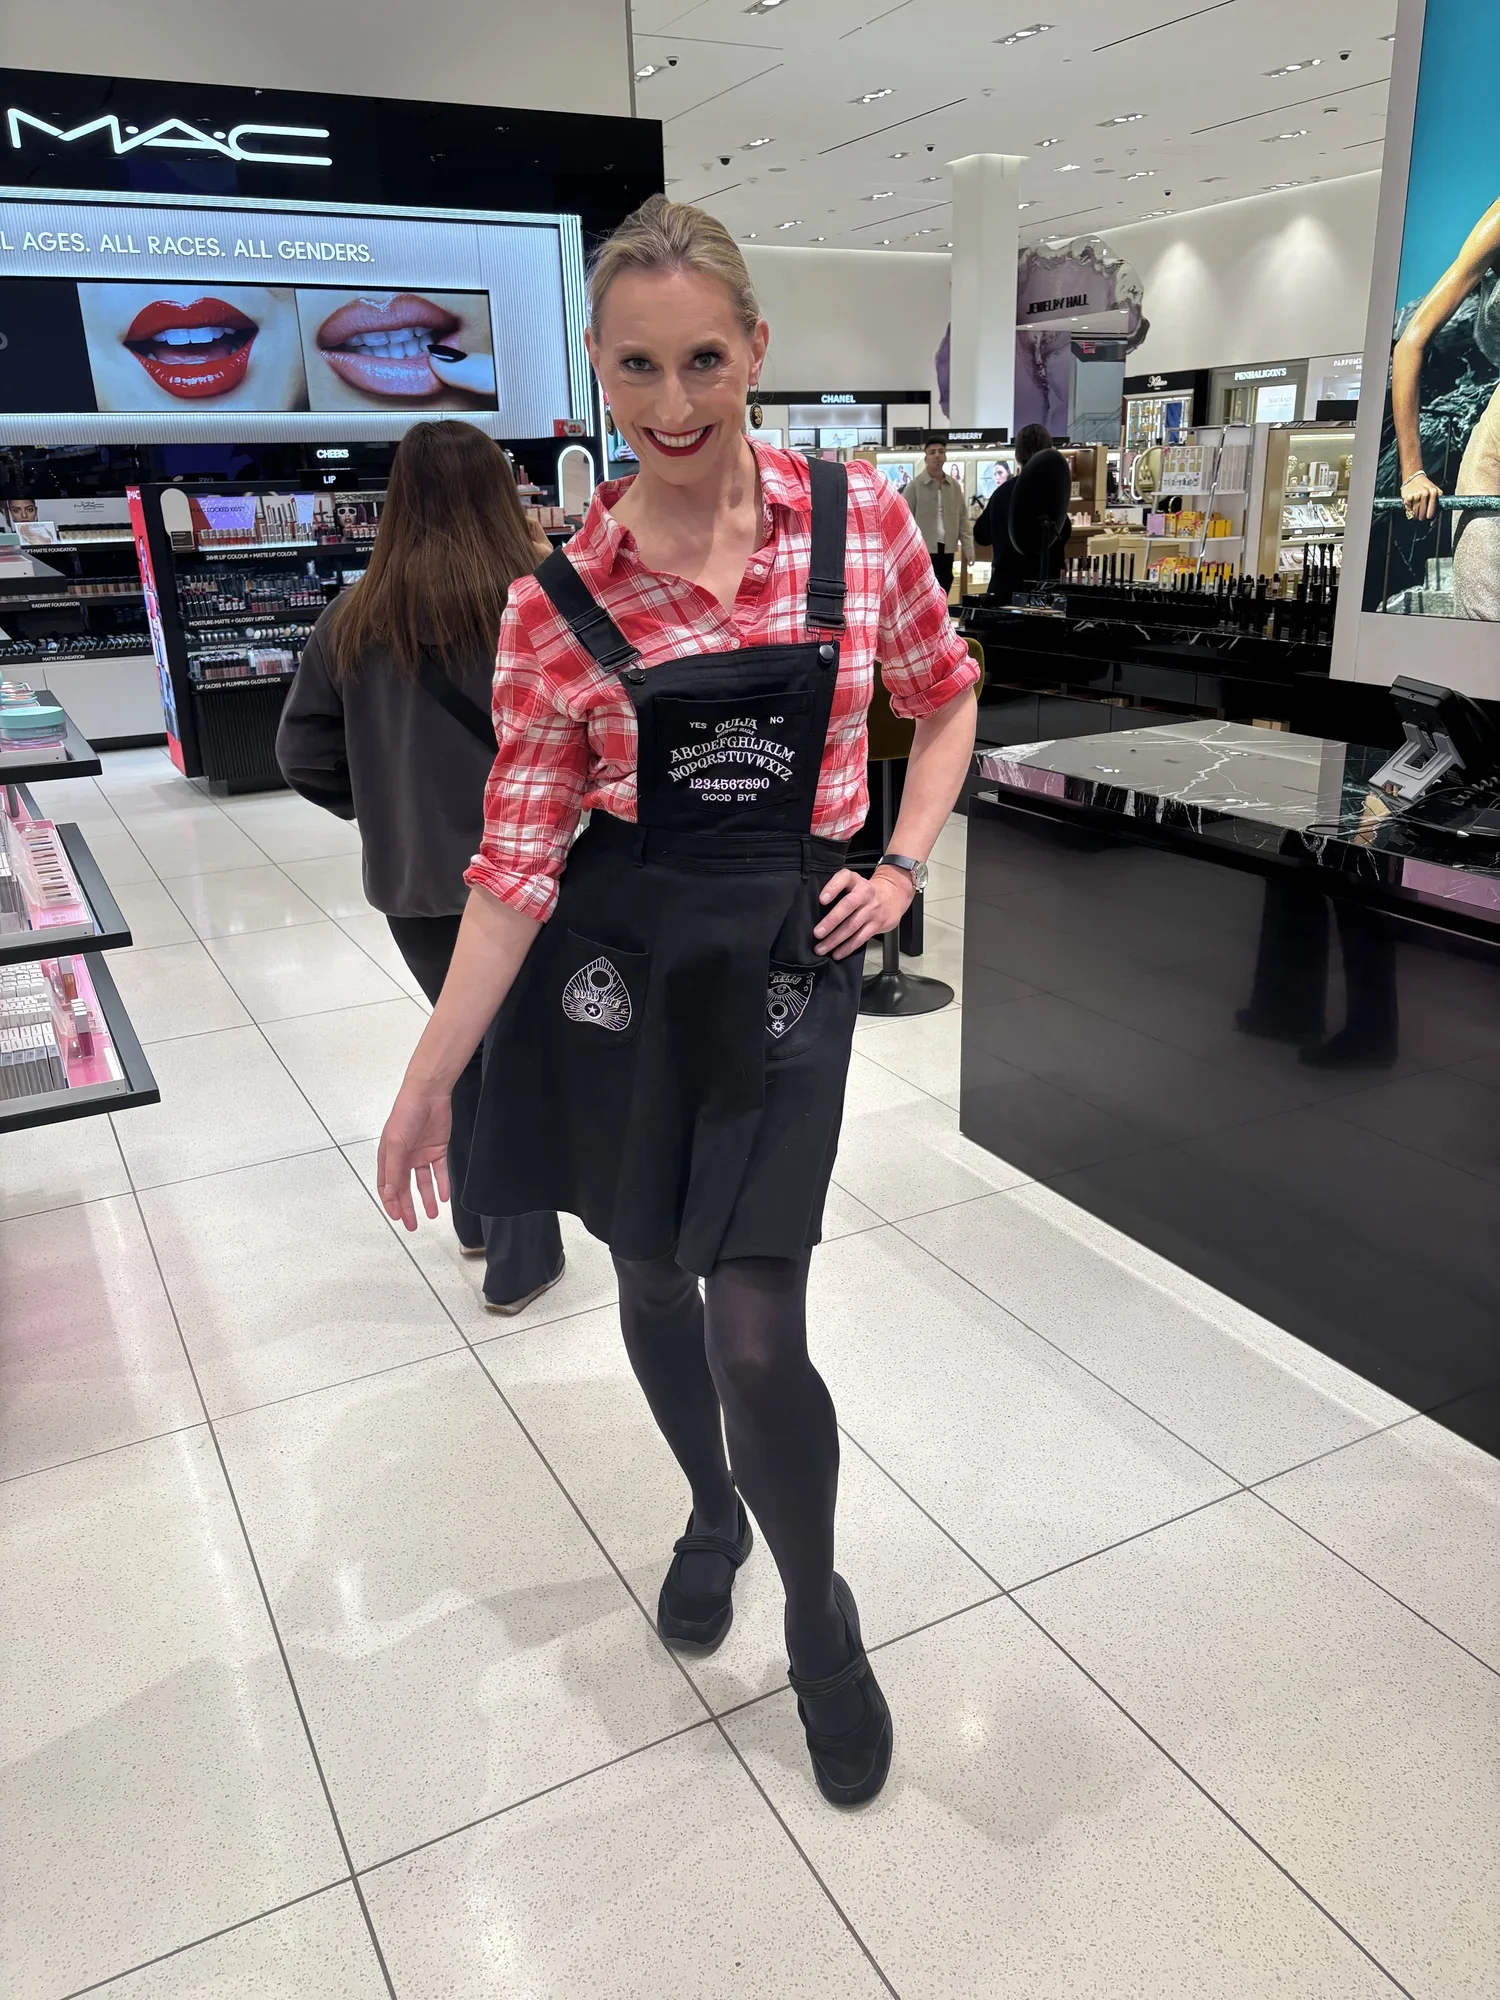
I contacted a beauty concierge at Nordstrom. She arranged a one-on-one tutorial on a day that happened to be Halloween, thus the Ouji board jumper in the photo.
I learned that my perimenopausal hormones have changed my once oily skin into the surface of a flaky croissant. How can I expect a smooth application if my “canvas” is like a handful of sand?
Note: I spent the money. I really wanted to learn and experiment, not just for the holidays but for dressing up and going out. Just know that. You can probably find much cheaper items at the drugstore. I also worked with a licensed esthetician, also a professional makeup artist.
Here are the products I used before adding concealer, foundation, blush, and powder:
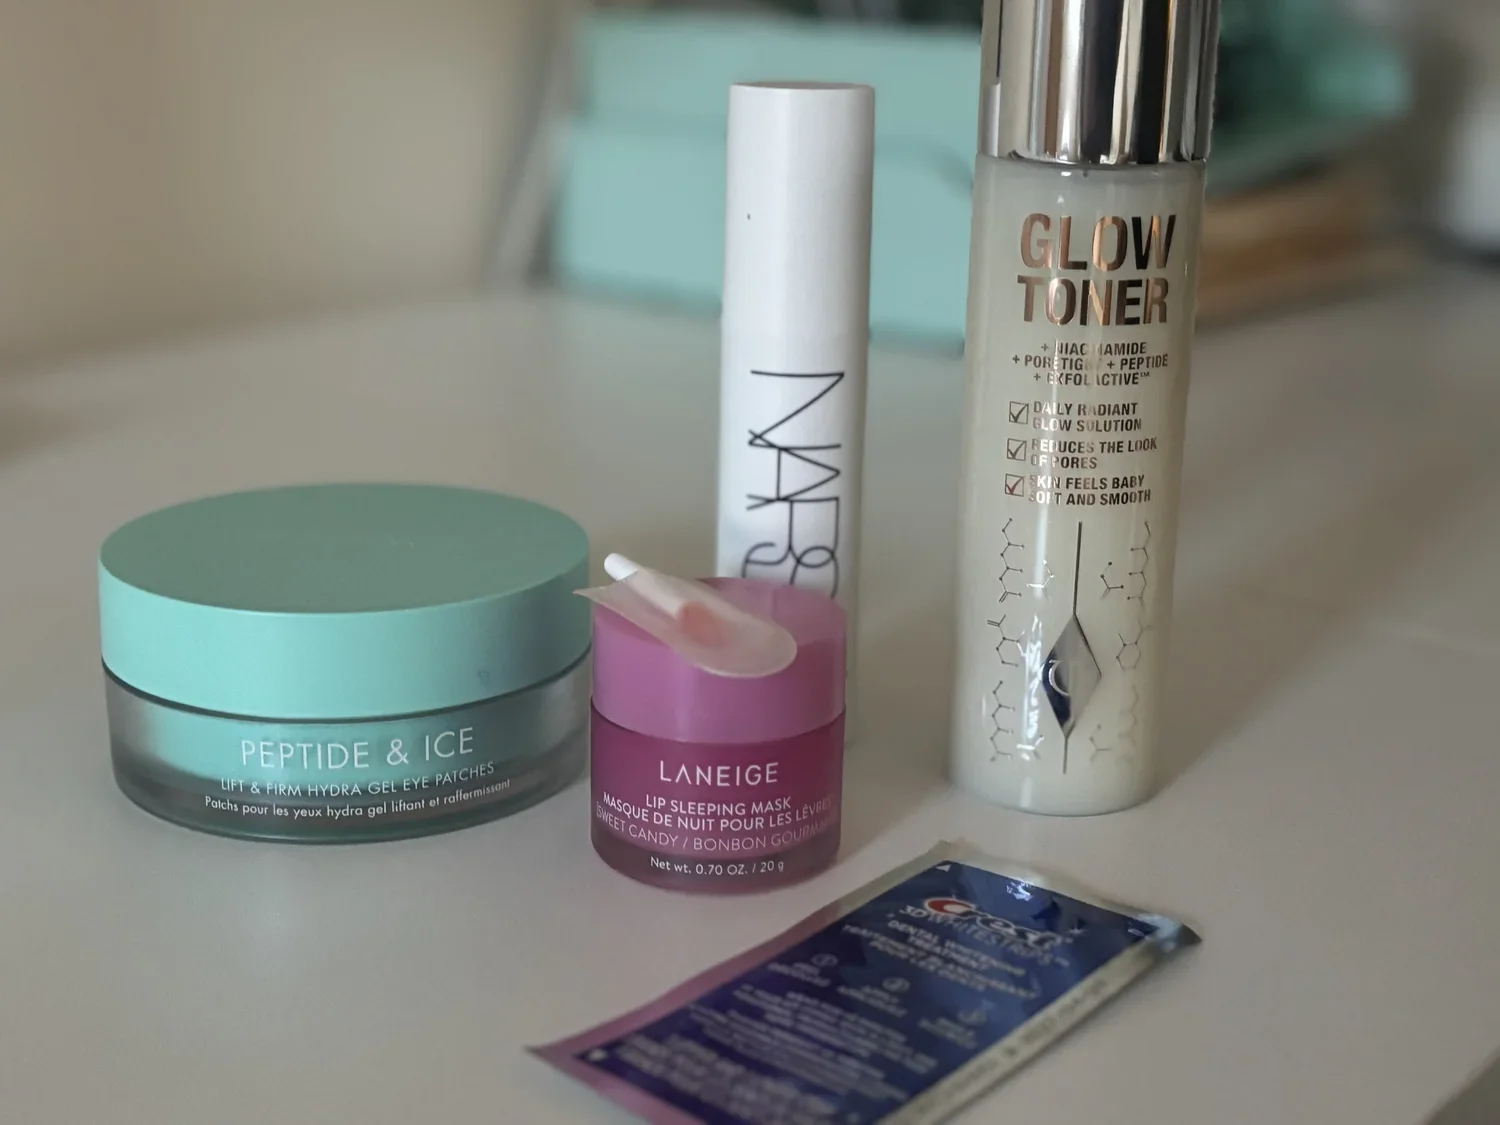
The Crest strips and Laneige are mine. But my tutor explained that the skin prep takes a little time. Why not soften the lips and whiten the teeth while waiting for the Peptide & Ice patches to take effect?
We applied a lip mask. Dry lips are a leading cause of red-lipstick bleed off.
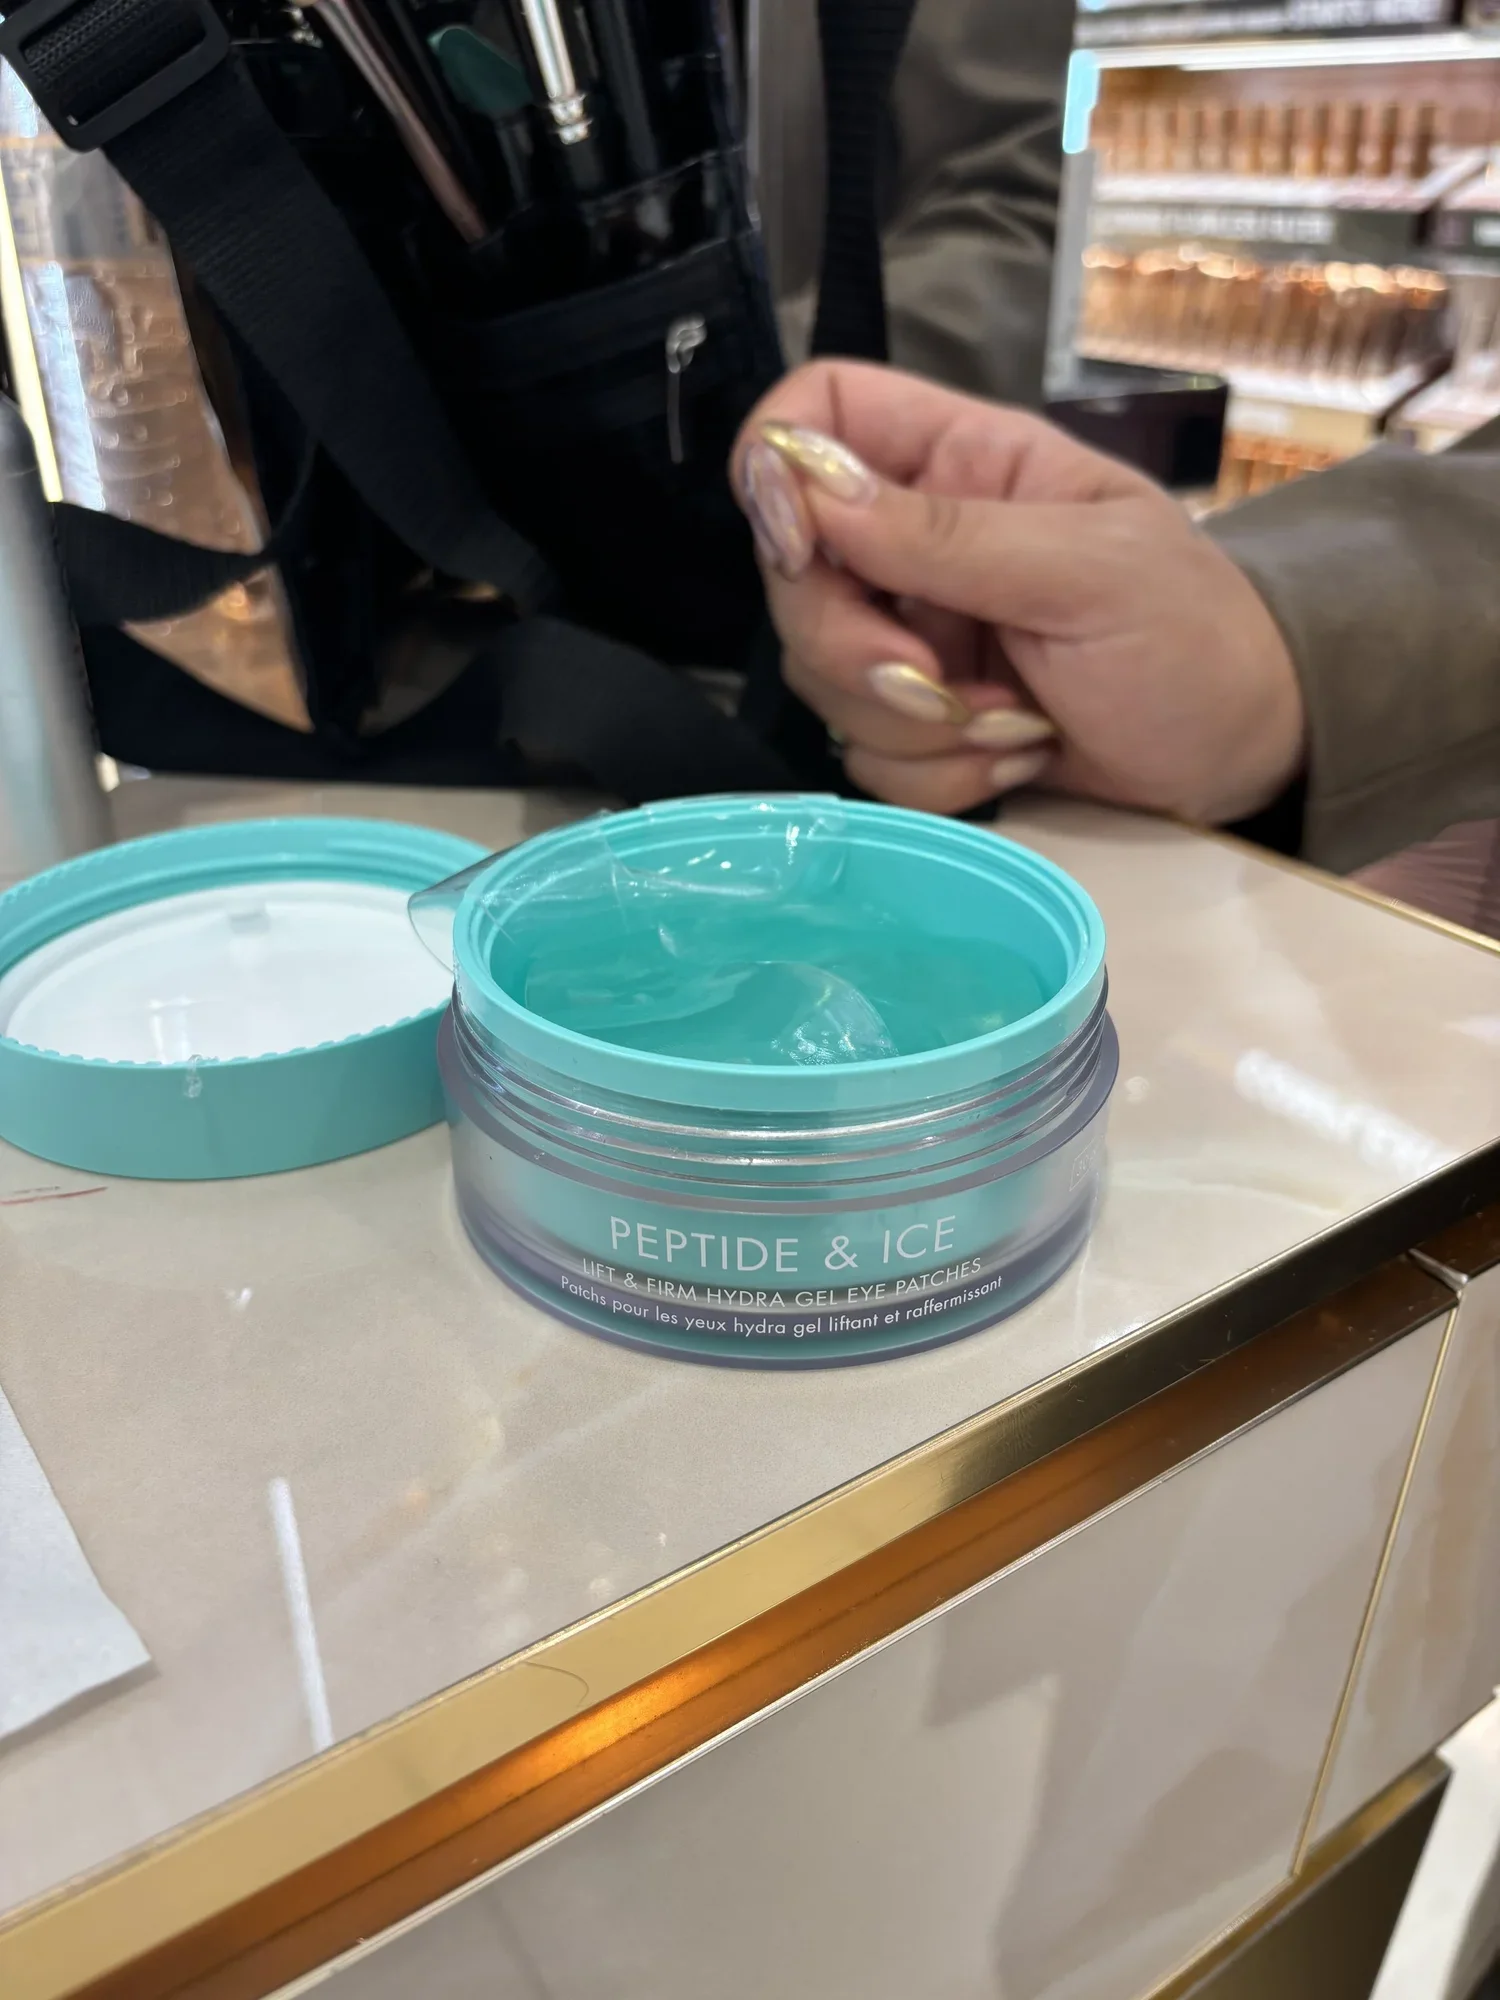
We put the Peptide & Ice patches on under my eyes. They immediately felt wonderful, cool and minty. These patches were already reducing my usual dark circles while protecting my skin from eyeshadow that would later fall onto the cheeks. (This is a good time to put in the Crest strips to whiten the teeth.)
I applied toner, then serum, then primer to my face and eyelids.
Eye shadow using brushes. We tried some red Pat McGrath sparkly stuff on the lid with a darker shade on the outer corners and lids. This is very expensive eye shadow, but check in for Black Friday deals.
We added mascara so that my light eyelashes wouldn’t shine through the dark eyelashes.
We used a brow brush backwards to darken my eyelashes from the outside to the inside.
We selected Mac baby doll eyelashes instead of the heavier ones. These baby dolls have more individual lashes, which really opened my eyes. We pretended to put the lashes on, to measure. Your false eyelashes should start at the outer corners and stop just where your normal upper lashes are the longest. To trim, my tutor put both eyelashes together and then trimmed. That way, they would be the same size.
We used a thin layer of clear adhesive, so that when it dried, it would be dark. We let the adhesive dry, to make it tacky. We wiggled the lashes back and forth to make them more flexible. Then we applied the lashes to the upper lid. My tutor instructed me to use my thumb and pointer finger to pinch the lashes into the lids.
I used my fingers to apply sparkly shadow to my inner eye corners, under the brow
We removed the patches under my eyes. After all that eye shadow, I was glad not to have shadow on my cheeks. I used toner, primer, and foundation under my eyes.
For blush, I smiled and patted the color down with my fingers, from the outer parts of my face to the inner.
For contours, we used darker powder near my eyes, upper cheekbones, and the jawline. I added power to my neckline, so I matched.
I added glimmer powders to my forehead, nose, cheeks, and neckline. Then I added skin-colored powder to my whole face to set the makeup longer.
To apply the Pat McGrath lipstick, I made a big jack-o-lantern mouth, with my lips stretched over my teeth. This way, I was applying to stretched skin, so the lipstick would be less likely to flake off later. I made an outline of my lips with the lipliner. Then I applied the lipstick to the stretched lips. I started to rub my lips together. No! That makes them flake.
The last step with a finishing spray to my face to keep my makeup in place. This product might be one of the best and most important, for me at least. I make so many mistakes when I have to touch up in a moving vehicle.
Of all of these steps, I already see a huge difference in the quality of my skin, lipstick that stays put, and eyelashes that do not move.
